
East Asia · Travel connectivity
Japan eSIM Guide for Shinkansen Trips and City Transfers
Set up mobile data for Japan and prepare for Shinkansen ticket gates, Tokyo–Kyoto–Osaka transfers, and rural day trips.

Set up mobile data for directions, translation, and live timetable changes, then prepare to board your train without needing to sign in at the gate. For a Tokyo–Kyoto–Osaka trip, save the exact stations and your onward route, and check how your booking lets you board. SimVago’s Japan eSIM provides mobile data. It does not include cellular voice calls or SMS.
Use the railway station for your terminal
Terminal 1 uses Narita Airport Station. Terminals 2 and 3 share Airport Terminal 2 Station. If you land at Terminal 3, allow time to reach the station at Terminal 2 before a booked departure. Save the station name and train operator so you can find the right ticket gate. Narita Airport rail guide
Choose your train by where you need to get off
Compare the Keisei Skyliner for Nippori or Keisei Ueno with the Narita Express for stations such as Tokyo or Shinjuku. Check that your specific train stops where you need it. JR East lists both a basic fare and a limited express ticket for the Narita Express if you aren’t using an eligible pass. Save your ticket instructions and the station exit closest to your accommodation. Narita Airport rail guide JR East Narita Express tickets

Get your Shinkansen ticket ready before you reach the gate
If you booked with SmartEX, open your reservation on a reliable connection and confirm which boarding method you’ll use. SmartEX boarding guide
- QR ticket. Print the ticket or add it to Apple Wallet if your device supports that option. Use a gate marked for QR tickets and keep the ticket available for exit. Give each passenger their own QR ticket.
- IC card. Confirm the card is assigned to the reservation for the passenger using it. Having a transit card in your wallet does not by itself link it to your Shinkansen booking.
- Paper ticket. If your booking requires pickup, confirm the pickup location and what you need to collect it. Allow time before departure rather than assuming a confirmation email will get you through the gate.
These are SmartEX options. If you bought elsewhere, follow that seller’s boarding instructions. A booking screenshot is useful for reference. Use the issued ticket or other boarding method your seller specifies. SmartEX QR ticket instructions
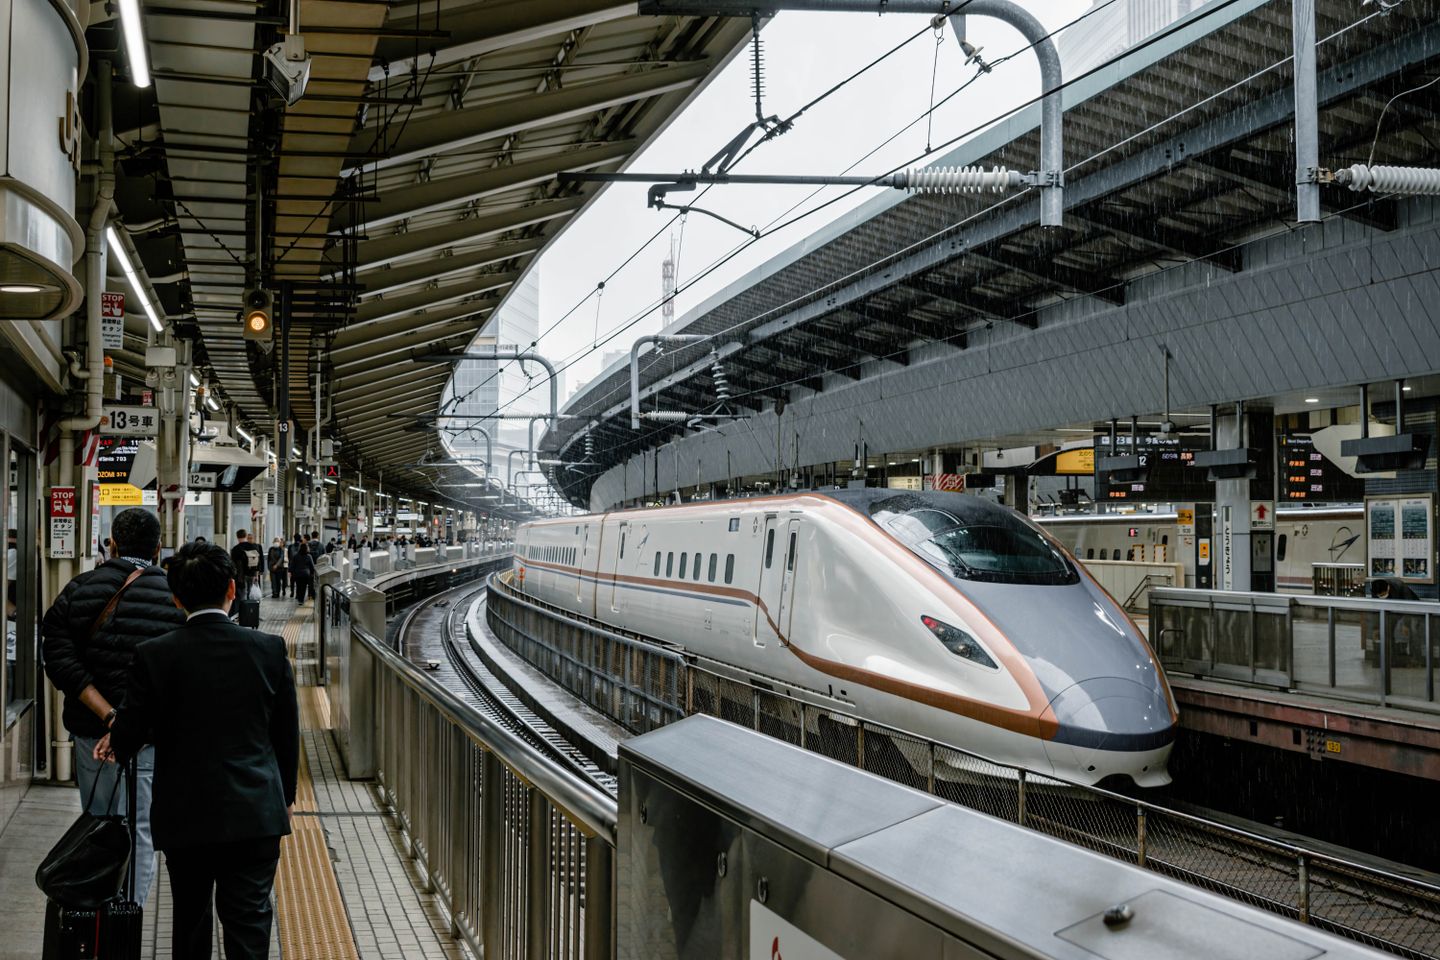
Save the transfer at both ends of the train ride
- In Tokyo, write down the departure station on your ticket, the train number, and the route from your hotel. If you need to transfer from a local line, save the route to the Shinkansen gates.
- At Shin-Osaka, plan the onward leg to your actual destination. If your hotel is near Osaka Station, save that transfer separately rather than stopping your route at Shin-Osaka.
- For a Mount Fuji day trip or rural overnight, save the exact stop for the return bus, its last scheduled departure from the operator, and a second way back. Recheck the schedule for your travel date and save your lodging address in Japanese.
Will mobile data work the whole way on the Shinkansen?
Plan for the connection to drop during the journey. JR Central lists onboard Wi-Fi on the Tokaido, Sanyo and Kyushu Shinkansen and says passengers will be asked to sign in again every 30 minutes. Download tickets, maps, and Japanese translation files before boarding. If you need to join a work meeting, arrange it from a place with a dependable connection. JR Central’s Shinkansen Wi-Fi guide
Choose and set up your Japan data plan
Estimate what you’ll use away from Wi-Fi. Maps, translation, and bookings are a different use case from streaming, video meetings, and tethering a laptop. Use the data calculator for your own trip, then check the Japan plan’s allowance, validity, activation rule, and any hotspot terms.
Check that your phone supports eSIM and is carrier-unlocked. Follow your plan’s installation instructions on a reliable connection. On arrival, select the travel eSIM for mobile data and follow the plan’s connection settings. Test a webpage or route search before leaving the airport. If you need bank verification texts, arrange access through your home line or another verified method and check your carrier’s roaming terms.
Sources
- SmartEX boarding guide Checked
- SmartEX QR ticket instructions Checked
- JR Central’s Shinkansen Wi-Fi guide Checked
- Narita Airport rail guide Checked
- JR East Narita Express tickets Checked